Hi everyone, it's Anjali here! So for our first makeup post, I decided to show you guys how to create a really easy neutral look. The eye shadows used in this look are all neutral colors, so they go with just about anything. It's perfect for those of you who want to amp up your everyday makeup routine. Keep reading to find out exactly how to get the look! :)
1. To start off, I used a Real Techniques Essential Foundation Brush to apply foundation all over my face.
 |
| Real Techniques Essential Foundation Brush & MAKE UP FOR EVER HD Invisible Cover Foundation |
2. Then I went in with my brow pencil to fill in some sparse areas in my eyebrows.
 |
| Anastasia Brow Wiz (brunette) |
3. Next, I tight-lined my upper lash line/water line with a matte brown eye pencil. You don't necessarily have to do this step but it really makes your lashes look more full.
 |
| Urban Decay 24/7 Glide-On Eye Pencil |
Here comes the fun part: eye shadow! The brushes I used are the Sephora+Pantone Stroke of Nature brushes. The smallest one is a smudge brush, the middle one is a rounded crease brush, and the last one is a small shadow brush.
 |
| Sephora+Pantone Stroke of Nature brushes |
All of the eye shadows I used are from a palette called Joy to the Girls from Too Faced, which I am currently obsessed with!
These are all the shadows in the palette:
4.
[1] I took just a small portion of the color Powdered Sugar on my smaller shadow brush and applied it all over my lid to create a good base.
[2] I took the color Mulberry on my crease brush and blended it in the crease. In my opinion, it's the perfect matte brown eye shadow. (It's all about giving your eye a little dimension!)
[3] I realized it was a little dull so I went in again with a more shimmery shade, Cheers! I applied this closer to the inner corner of my eye and blended some onto the middle of my lid. This will make your eyes look more awake and open!
[4] I took another brown shadow, Chestnut on the same crease brush and made the crease just a tiny bit darker. I also used the matte black shadow Carbon on the smudge brush and lined my upper lash line with it. (This creates the illusion of eyeliner.)
5. Then I used my Revlon eyelash curler to curl my lashes. (It makes a difference, trust me!) I took my favorite mascara at the moment, Maybelline Volum' Express Mega Plush mascara and coated a generous amount to my lashes. It gives them just the right amount of volume and length that I'm looking for!
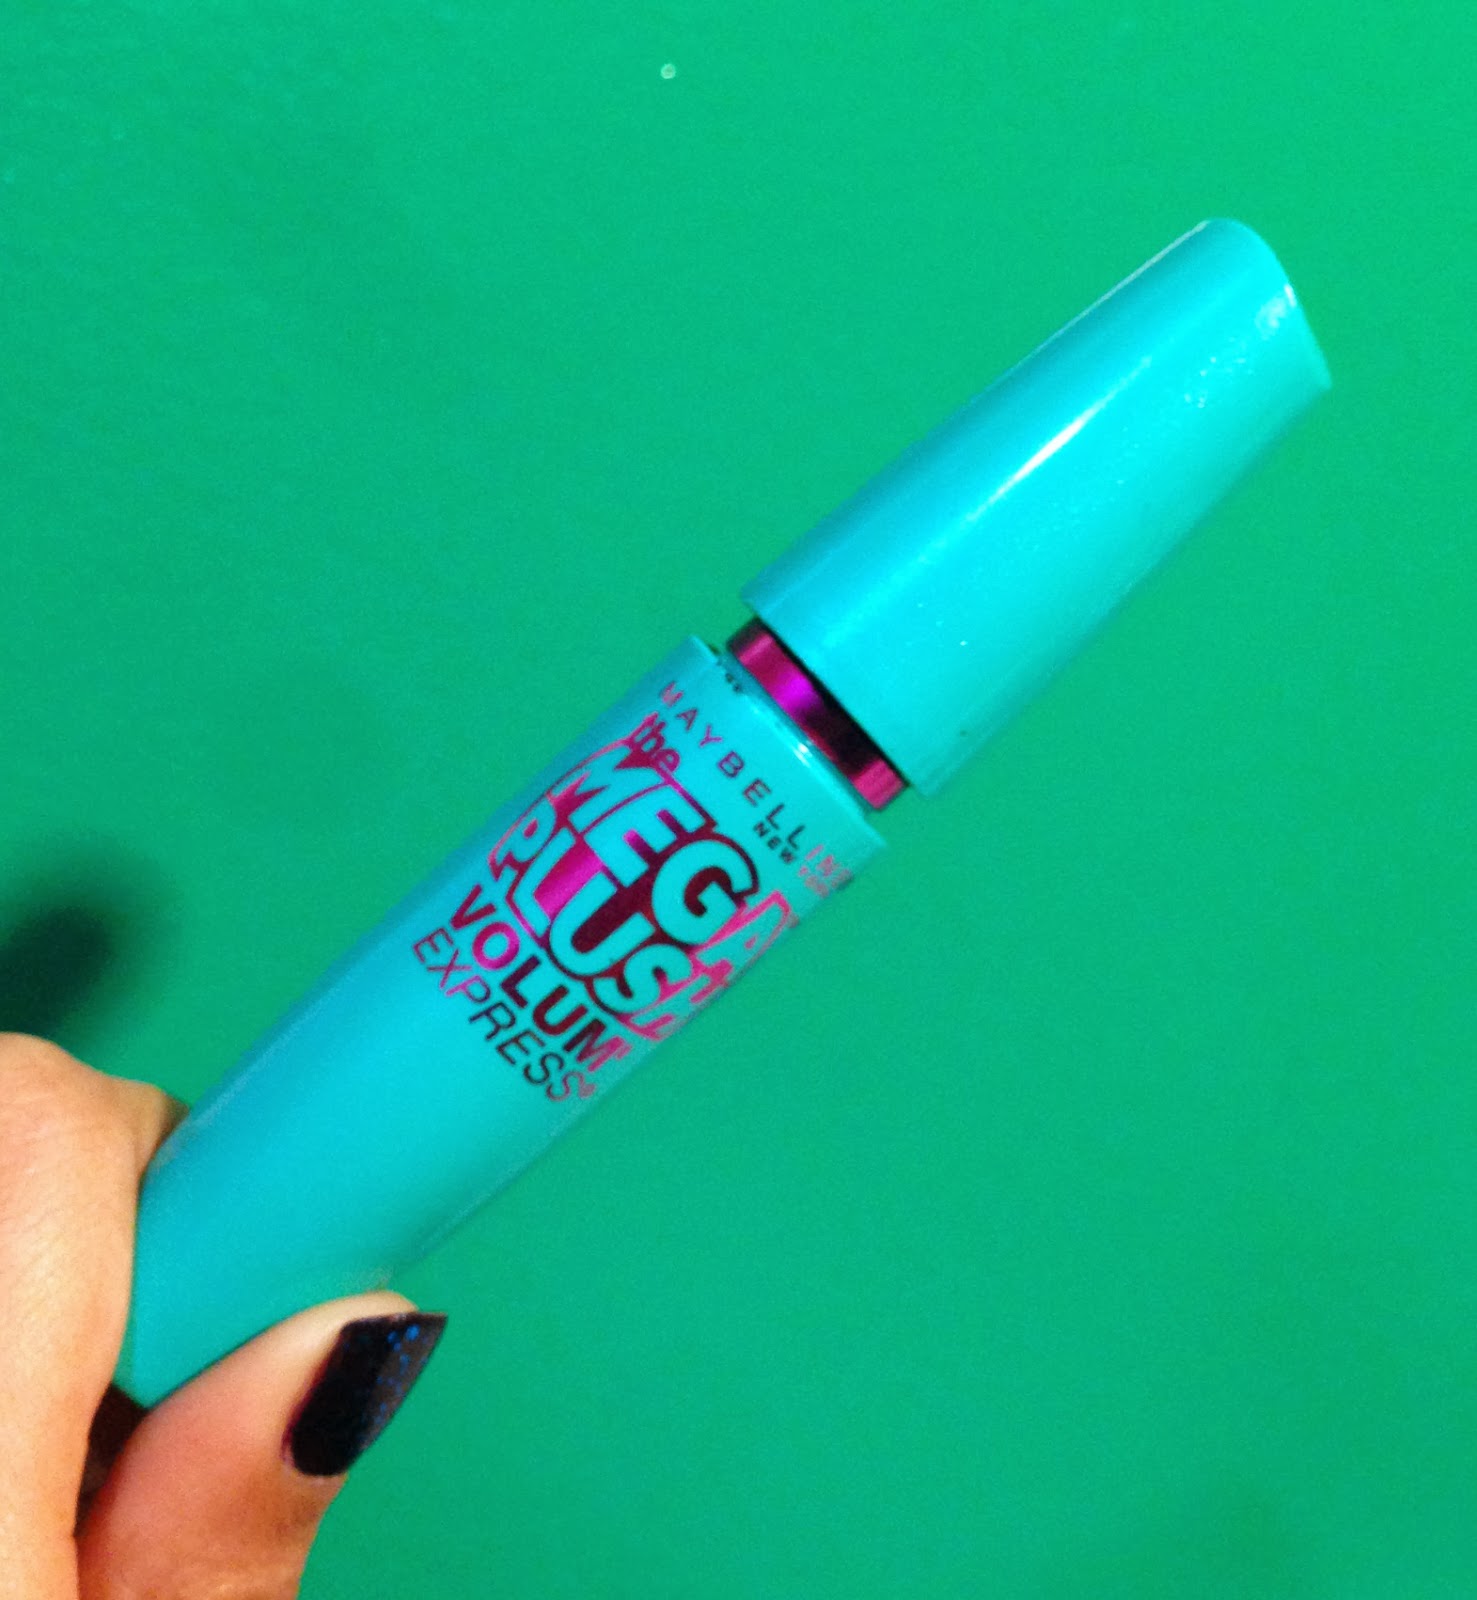 |
| Maybelline Volum' Express Mega Plush Mascara |
6. To conceal and brighten up the area under my eyes, I used my MAKE UP FOR EVER HD concealer.
 |
| MAKE UP FOR EVER HD Concealer |
7. To give my face definition, I took some of the Revlon PhotoReady Bronzer on a dual-ended Lancôme Cheek & Contour Brush #25 and applied it to the hollows of my cheekbones. (Tip!: If you want to make your nose look a little slimmer too, apply some bronzer down both sides of it.)
 |
| Revlon PhotoReady Bronzer |
8. For blush, I used my Real Techniques Blush Brush to apply a bit of MAC's Warm Soul to the apples of my cheeks to give my face a nice healthy glow.
 |
| MAC Blush: Warm Soul |
9. For lips I decided to leave it simple and used some Baby Lips lip balm in Grape Vine. (I forgot to take a picture of it, sorry!)
And...drum roll! Here's the completed look!
I hope you guys enjoyed this and found my tips helpful! Thanks so much for reading!
-xoxo Anjali :)


7875.jpg)


