Tuesday, February 4, 2014

Photography: adventures in the snow


As we all know, yesterday was probably the biggest winter storm we've had this season. Even Rutgers decided to cancel class! Crazy right? (my fellow Rutgers people will know what I mean) Anyways, with plenty of hours in the day still left ahead of me I decided to use my time productively (kind of). I haven't gotten a chance to properly relax and have some me-time with the chaos of the start of the new semester, so it felt great to just breathe and do something I really enjoy, which is taking pictures. After many months without using my SLR I finally took it off of my shelf and went for a little walk with my sister, Krishna. We didn't venture too far; just a street or two away from our house. We discovered an empty road free of cars and decided to take advantage of it. That's where I got on the ground in the middle of the road ~cause yolo~ and snapped the second picture. It's my favorite! Soon after that, we came back and I took some pictures of the branches and leaves that were covered in snow in front of my house. It was quite relaxing and I'm pretty proud of some of the photos I got.

That being said, I'm SO over winter. ~let me just be a negative nancy real quick~ I really dislike winter and everything that comes along with it. Sure, you get some great pictures but to me, the cons of winter outweigh the pros. I'm so sick of feeling uncomfortably cold and layering clothes. Looking good while trying to avoid hypothermia is not an easy task. Not only that, but I'm one of those unfortunate souls who has really dry skin, making it even dryer in the winter months. I'm craving sunshine and warmth. Who's with me?! Only a few more months, right? 

I hope you're all doing well and keeping warm! 

- anjali


Monday, January 20, 2014

Makeup: How to pull off a simple dark lip!

The key to pulling off a dark lip is to go easy on the eyes. That way, most of the attention is on the lips.

These are all of the products I will be using:


-The first and most important thing when applying any product on your lips is to moisturize them! I like to use the Aquaphor Healing Lip Repair. I let it sink in for about 10 minutes before I start applying the other products. It is important to moisturize your lips because it helps with smoother application of the product and gives it longer staying power.

-I like to start off by lining my lips with this lipliner from MAC called Absolutely It.

MAC Lip Liner: Absolutely It

-Next I took this dusty rose shade lipstick by MAC called Del Rio and layered that on to create a perfect base for the next darker shade.


MAC Lipstick: Del Rio


-Lastly I applied a vampy matte shade by NARS called Train Bleu.

NARS Velvet Matte Lip Pencil: Train Bleu


And that is the completed look, which can be perfectly paired with the neutral eyeshadow look that Anjali has previously posted! Thank you for reading this! For those of you who haven't worn a dark lip before and want to try it out, I hope this post helps.
-xoxo Krishna :)

Makeup: Everyday Neutral Look

Hi everyone, it's Anjali here! So for our first makeup post, I decided to show you guys how to create a really easy neutral look. The eye shadows used in this look are all neutral colors, so they go with just about anything. It's perfect for those of you who want to amp up your everyday makeup routine. Keep reading to find out exactly how to get the look! :)


1. To start off, I used a Real Techniques Essential Foundation Brush to apply foundation all over my face. 

Real Techniques Essential Foundation Brush & MAKE UP FOR EVER HD Invisible Cover Foundation

2. Then I went in with my brow pencil to fill in some sparse areas in my eyebrows.

Anastasia Brow Wiz (brunette)

3. Next, I tight-lined my upper lash line/water line with a matte brown eye pencil. You don't necessarily have to do this step but it really makes your lashes look more full.

Urban Decay 24/7 Glide-On Eye Pencil

Here comes the fun part: eye shadow! The brushes I used are the Sephora+Pantone Stroke of Nature brushes. The smallest one is a smudge brush, the middle one is a rounded crease brush, and the last one is a small shadow brush.  

Sephora+Pantone Stroke of Nature brushes

All of the eye shadows I used are from a palette called Joy to the Girls from Too Faced, which I am currently obsessed with!


These are all the shadows in the palette:


4. 
        [1] I took just a small portion of the color Powdered Sugar on my smaller shadow brush and applied it all over my lid to create a good base.

        [2] I took the color Mulberry on my crease brush and blended it in the crease. In my opinion, it's the perfect matte brown eye shadow. (It's all about giving your eye a little dimension!) 
       
        [3] I realized it was a little dull so I went in again with a more shimmery shade, Cheers! I applied this closer to the inner corner of my eye and blended some onto the middle of my lid. This will make your eyes look more awake and open!

        [4] I took another brown shadow, Chestnut on the same crease brush and made the crease just a tiny bit darker. I also used the matte black shadow Carbon on the smudge brush and lined my upper lash line with it. (This creates the illusion of eyeliner.)


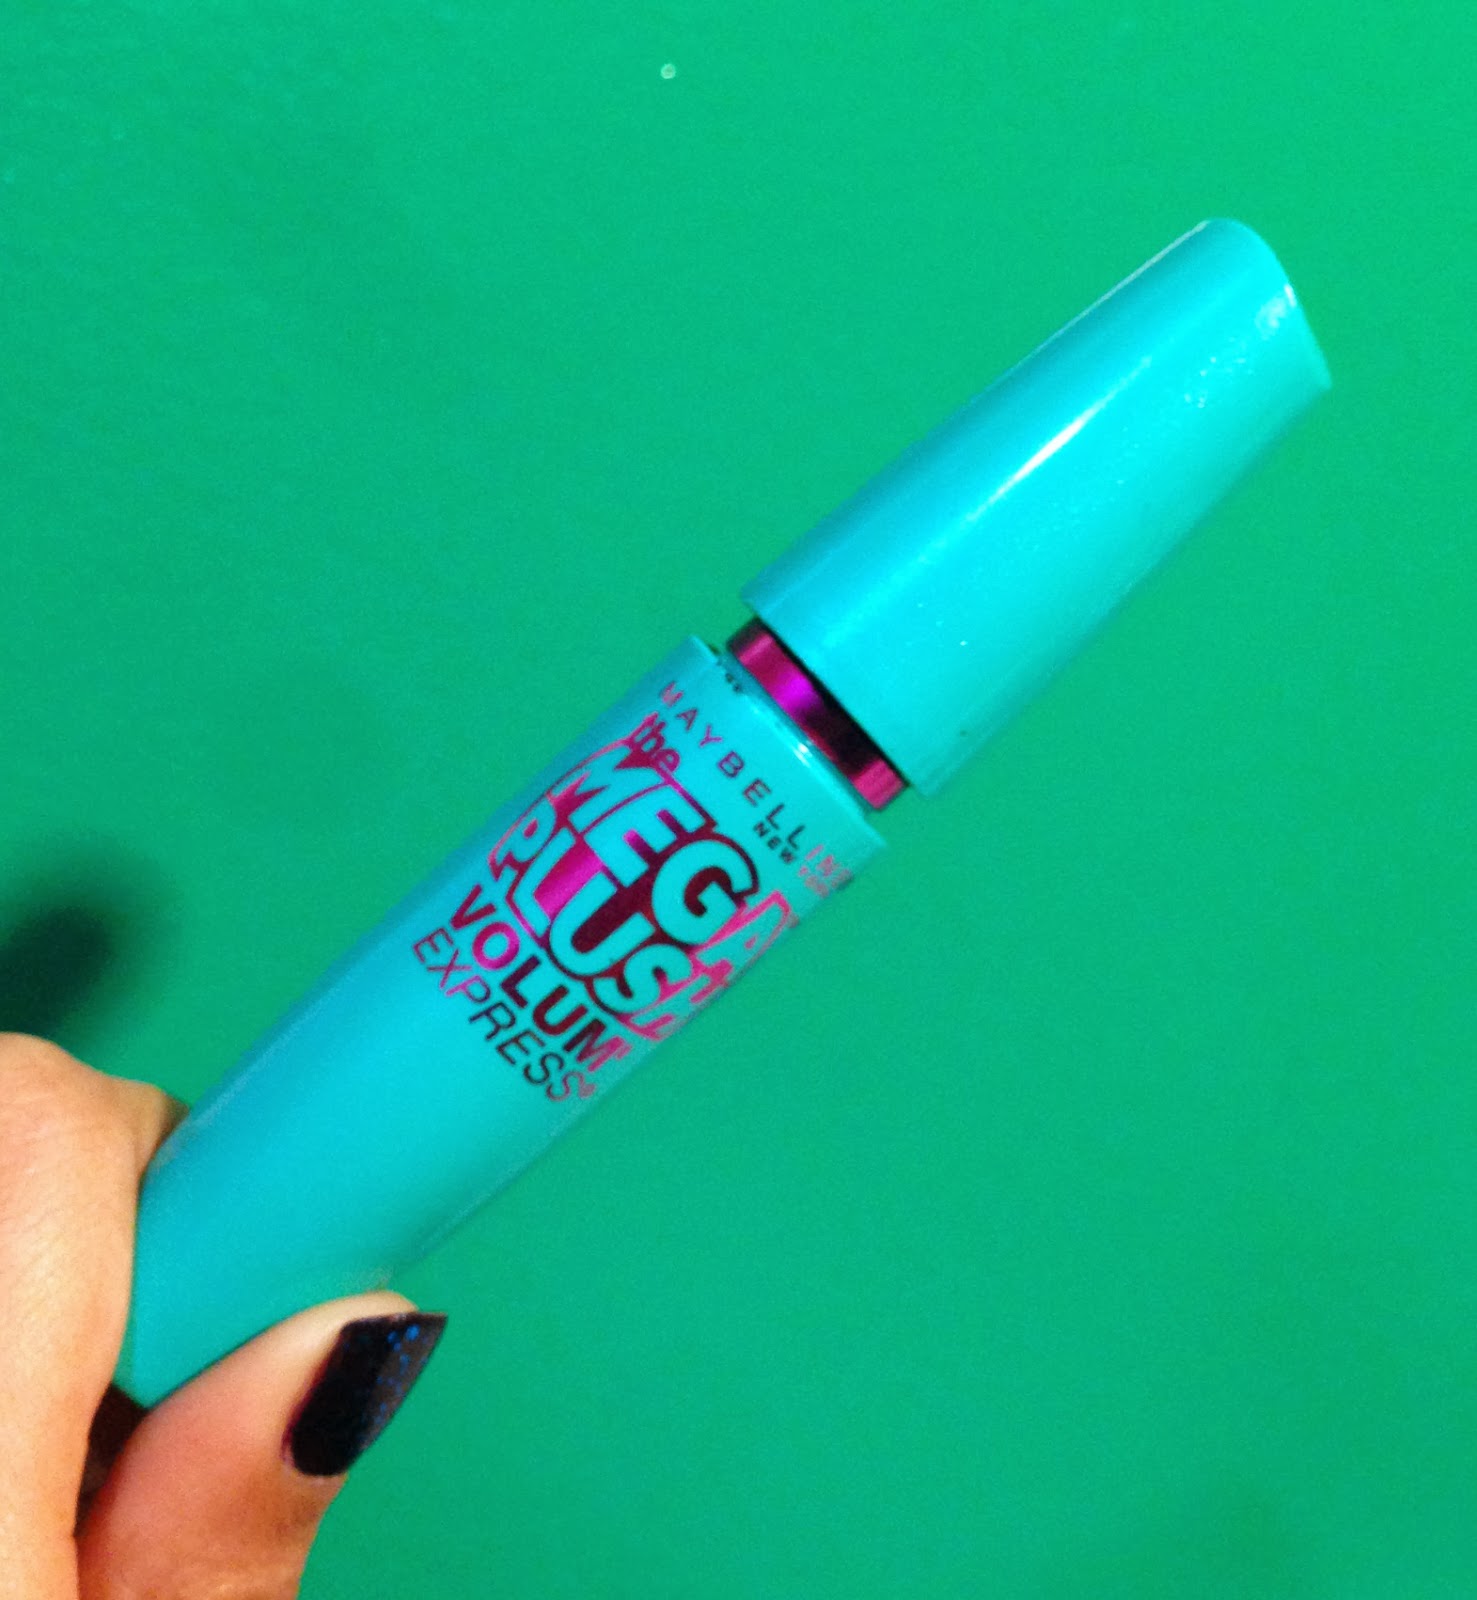
5. Then I used my Revlon eyelash curler to curl my lashes. (It makes a difference, trust me!) I took my favorite mascara at the moment, Maybelline Volum' Express Mega Plush mascara and coated a generous amount to my lashes. It gives them just the right amount of volume and length that I'm looking for!


Maybelline Volum' Express Mega Plush Mascara

6. To conceal and brighten up the area under my eyes, I used my MAKE UP FOR EVER HD concealer.

MAKE UP FOR EVER HD Concealer

 7. To give my face definition, I took some of the Revlon PhotoReady Bronzer on a dual-ended LancĂ´me Cheek & Contour Brush #25 and applied it to the hollows of my cheekbones. (Tip!: If you want to make your nose look a little slimmer too, apply some bronzer down both sides of it.)


Revlon PhotoReady Bronzer

8. For blush, I used my Real Techniques Blush Brush to apply a bit of MAC's Warm Soul to the apples of my cheeks to give my face a nice healthy glow.


MAC Blush: Warm Soul
9. For lips I decided to leave it simple and used some Baby Lips lip balm in Grape Vine. (I forgot to take a picture of it, sorry!)

And...drum roll! Here's the completed look! 


I hope you guys enjoyed this and found my tips helpful! Thanks so much for reading!
-xoxo Anjali :)


Tuesday, January 14, 2014

Aloha

Hello and welcome to our blog! We are Krishna and Anjali, two sisters with a passion for all things art. For quite some time, we were trying to compose a way to share our creativity with the world. We thought, what better way than to create a blog? Through this we will be sharing things such as beauty, fashion, drawing, painting, DIY projects, photography, recipes, etc. We hope this will inspire others to take a leap of faith and try something new! 

Thanks for checking out our page! Stay tuned for exciting things to come. :)
- xoxo the two peas